Body Measurement Chart: How to Take Body Measurements (Free Printable)
To take body measurements, use a flexible, non-stretch tape and stand relaxed in light clothing. Measure the neck, chest, upper arm, waist, hips, thigh and calf at fixed landmarks, take three readings and use the average. Use the same time of day each week. The free chart below has a place for all of it.

- Measure 7 sites: neck, chest, upper arm, waist, hips, mid-thigh and calf. The free 2 page PDF shows each landmark and has a 12 week chart.
- Tape snug, not squeezing, flat and level with the floor. Take three readings and use the mean, to the nearest 0.1 cm or a tenth of an inch.
- No single waist landmark is the standard, so pick one and keep it for the whole programme.
- Judge the trend over three to four weeks. Repeated readings differ a little even when you are careful, which is why you take three.
The scale gives one number. A tape gives several, and they tell you where change is happening: a waist that shrinks while weight holds steady, or an upper arm that grows during a muscle gain. This guide shows where to put the tape on each site, how to keep readings comparable and how to use the chart. For a fuller start-of-programme record, pair it with a fitness assessment form, which has a measurements page of its own.
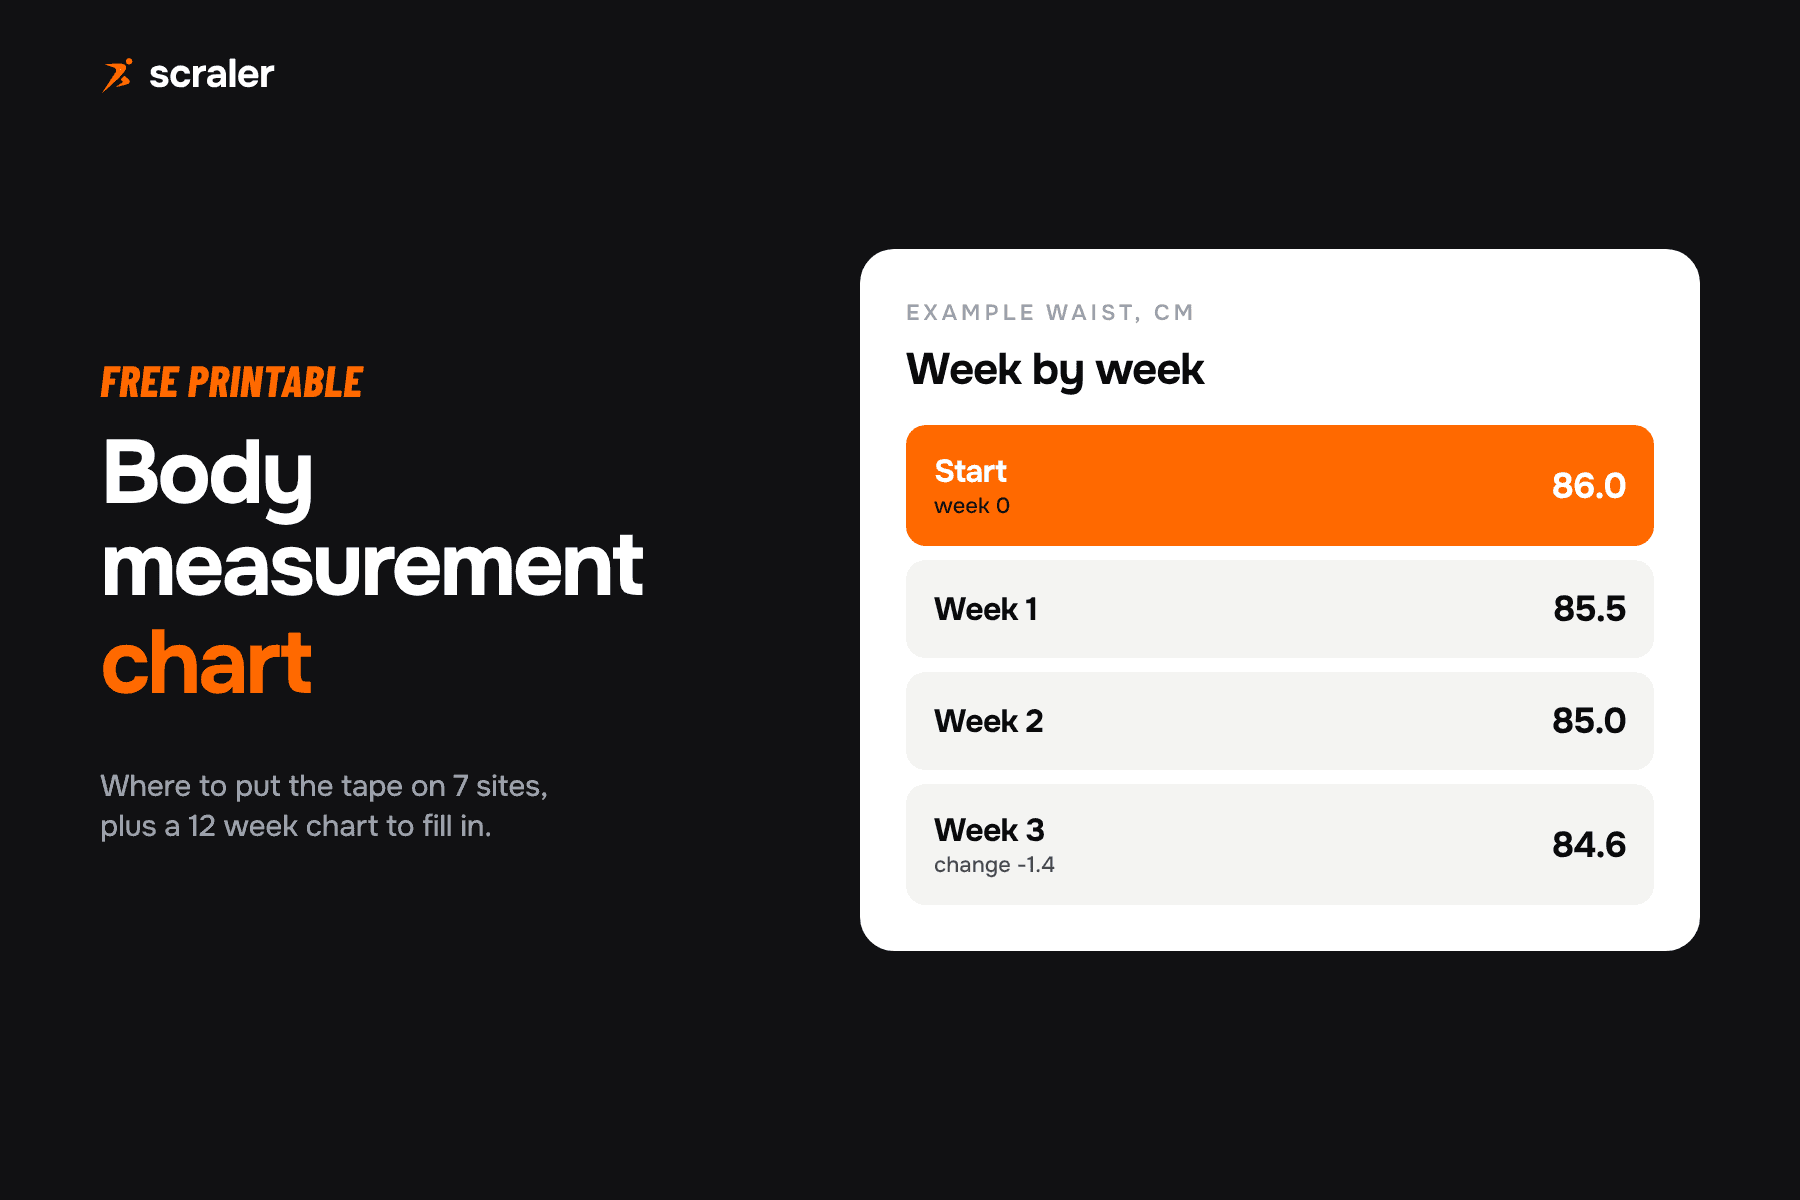
Two A4 pages. Page 1 shows where to measure 7 sites on a body diagram, with the landmark for each and rules for consistent readings. Page 2 is a 12 week chart with a start column, one column per week, a change column and an example row.
How do you take body measurements?
Consistent method matters as much as the site. The MRC Epidemiology Unit, which publishes a measurement protocol used in research, gives the basics. Use a flexible tape that does not stretch. The tape should be snug, not so tight it compresses the skin, lying flat on the skin and horizontal, parallel to the floor. Measure over bare skin or one thin layer of clothing, and use a mirror to check the tape is level.
- 1.Stand relaxed. Feet slightly apart, weight even on both feet, arms hanging loosely at the sides. Do not flex the muscle you are measuring.
- 2.Find the landmark. Use the site descriptions below. Mark the spot with a pen the first time if it helps you find it again.
- 3.Place the tape. Snug, flat and level. Read the number at the point where the tape overlaps.
- 4.Breathe out normally. For the chest and waist, read at the end of a normal breath out, not after a deep breath.
- 5.Take three readings. The research protocol records three and uses the mean. Add them up and divide by three.
- 6.Write it down. Record the date and the unit. Use centimetres or inches, and never mix them in one chart.
Records to the nearest 0.1 cm are standard in research. At home, a tenth of an inch or the nearest millimeter is plenty, as long as you are consistent.
Where do you measure each body site?
There are seven sites on the chart. Neck, chest, upper arm, thigh and calf follow the MRC protocol. Arm, waist and hips also follow the CDC NHANES procedures manual, the US national health survey. For arm, thigh and calf, the MRC protocol uses the non-dominant side (NHANES uses the right side), so pick one side and keep it.
- Where the tape goes
- Halfway between the collarbone and chin, at the larynx, eyes forward
- Source
- MRC
- Where the tape goes
- Level of the middle of the breastbone, tape under the arms, arms relaxed
- Source
- MRC
- Where the tape goes
- Midpoint between the shoulder bone (acromion) and the point of the elbow, arm hanging relaxed
- Source
- MRC, NHANES
- Where the tape goes
- One consistent landmark, see the next section
- Source
- MRC, NHANES, WHO
- Where the tape goes
- Widest part of the buttocks, seen from the side, tape level with the floor
- Source
- NHANES
- Where the tape goes
- Midpoint between the groin crease and the top of the kneecap
- Source
- MRC
- Where the tape goes
- The widest part of the calf, standing with feet about 20 cm apart
- Source
- MRC
| Site | Where the tape goes | Source |
|---|---|---|
| Neck | Halfway between the collarbone and chin, at the larynx, eyes forward | MRC |
| Chest | Level of the middle of the breastbone, tape under the arms, arms relaxed | MRC |
| Upper arm | Midpoint between the shoulder bone (acromion) and the point of the elbow, arm hanging relaxed | MRC, NHANES |
| Waist | One consistent landmark, see the next section | MRC, NHANES, WHO |
| Hips | Widest part of the buttocks, seen from the side, tape level with the floor | NHANES |
| Mid-thigh | Midpoint between the groin crease and the top of the kneecap | MRC |
| Calf | The widest part of the calf, standing with feet about 20 cm apart | MRC |
Where exactly should you measure your waist?
This is the one site where guidelines disagree. The MRC protocol says no consensus has been agreed on an optimal location and lists the common ones: the midpoint between the lowest rib and the top of the hip bone (used in the WHO STEPS manual), the upper border of the hip bone (used by the US National Institutes of Health), the narrowest part of the waist, the lowest rib, and the navel. The CDC survey measures just above the uppermost edge of the hip bone, and the NHLBI says to place the tape just above your hipbones.
How do you keep measurements consistent week to week?
Most of the error comes from technique: where the tape sits, how tight it is and when you read it. Five habits keep it small.
- Same time of day. Ideally the morning, before eating and before training. The WHO STEPS manual recommends measuring the waist fasted to reduce the effect of stomach contents.
- Same clothing. Bare skin or one thin layer, every time.
- Same tape and same person. If a coach measures the client, the coach should do it every week. If it is self-measured, use the same tape.
- Same landmarks. Mark the spots with a pen for the first session, and use a mirror to keep the tape level.
- Same breath. Read at the end of a normal breath out, never after sucking in.
Even then, expect small differences between readings, so use the mean of three and look at the trend rather than a single number. How often to measure is a coaching choice rather than a studied rule: weekly works for a 12 week programme, and every two weeks is enough if the client finds it stressful. Judge direction over three to four weeks.
What do the measurements tell you?
Different sites answer different questions. The MRC page describes it this way: calf, thigh and upper arm circumferences are used to estimate changes in musculature and lean mass, while waist and hip circumferences describe abdominal girth and central fat. That is why both a fat loss and a muscle gain programme can use the same chart.
Two quick ratios are useful. Divide the waist by height, using the same unit, and compare it to the NHS advice to keep the waist under half of height: our waist-to-height ratio calculator does the sum. The waist-to-hip ratio calculator compares your waist and hip readings. If a client is above a line, refer, do not interpret. Measurements describe change, and they are not a health diagnosis.
Is body measurement different for women?
The sites and the technique are the same for women and men. What differs is which readings carry the most weight. The NHLBI risk line for the waist is lower for women (more than 35 inches) than for men (more than 40). The Navy body fat method adds the hip for women. The waist-to-hip ratio uses both readings.
One practical tip from coaching rather than from research: if a client tracks her menstrual cycle, measure at the same point in it each month, so that normal fluctuations do not look like progress or setbacks. Scraler has an optional, client-owned cycle tracker that the client chooses whether to share.
How do you use the free measurement chart?
- 1Day one
Fill in name, unit and waist landmark. Measure every site and write the start column.
- 2Every week
Same day, same time. Write the mean of three readings in the next column.
- 3Every four weeks
Compare to the start. Fill the change column, add progress photos and note how clothes fit.
- 4Week 12
Calculate the total change per site and decide what the next block should focus on.
The glance strip at the top of page 2 has the four numbers worth seeing at once: start waist, latest waist, the change and waist to height. The shaded top row is an example, so you can see what filled-in data looks like.
Pair the numbers with a photo and a check-in. A tape moves slowly, and a photo or a "my jeans fit" comment often shows change first. Our client check-in form has a place for it, and if you are building your own routine, workout log template shows how the training side fits. To compare calories and macros to the same period, see our macro calculator, and for the food log itself, MyFitnessPal alternatives. If the client also tracks daily actions, a habit tracker shows whether behavior matches the tape.
Can you track measurements in a coaching app?
Yes, and it removes the paper. In Scraler, clients log weight, body fat and measurements for chest, waist, hips, arms, thighs and calves in a check-in, and upload progress photos. Trainers see each metric as a trend chart with its change over 1 month, 3 months, 6 months, 1 year or all time, and can compare before and after photos. Custom metrics cover anything else you want to track, like visceral fat or sleep hours.
Send a check-in that asks for measurements and photos, and see every metric charted over time in the client profile.
See check-ups and progress trackingThe chart is for coaches and clients and is not medical advice. If you have concerns about your health or weight, speak to a doctor.
Frequently asked questions
- How do I take body measurements accurately?
- Use a flexible, non-stretch tape, snug but not squeezing, flat and level with the floor. Measure bare skin or one thin layer, stand relaxed and read at the end of a normal breath out. Take three readings and use the mean.
- Where do you measure your waist?
- There is no single standard. Common sites are just above the hip bone, the midpoint between the lowest rib and the hip bone, and the narrowest part of the waist. Choose one, write it down and use it every time.
- How often should I take body measurements?
- Weekly or every two weeks, at the same time of day. Judge the trend over three to four weeks rather than one reading, because small differences between readings are normal.
- What body measurements should a woman track?
- The same seven sites: neck, chest, upper arm, waist, hips, mid-thigh and calf. The waist and hips are the most useful pair for tracking change, and the hip is needed for the Navy body fat method and the waist-to-hip ratio.
- What is a healthy waist measurement?
- The NHLBI says a waist of more than 35 inches for women or more than 40 inches for men increases health risk, and the NHS advises keeping the waist under half your height. These are screening lines, so speak to a doctor about your own risk.