Before your clients can pay you, you need to connect Stripe. Stripe is a safe and trusted payment service that handles all the money stuff for you. This guide walks you through every step — from start to finish.
Stripe is like a digital cash register. When a client pays you (for a subscription, a session, or anything else), Stripe collects the money and sends it straight to your bank account. You don't have to worry about invoices, taxes, or security — Stripe takes care of all of that.
Make sure you have these things ready:
Log in to your Scraler dashboard. On the left side, click "Finance". Then in the sidebar that appears, click "Settings" at the bottom. This is where you connect Stripe and manage everything related to payments.
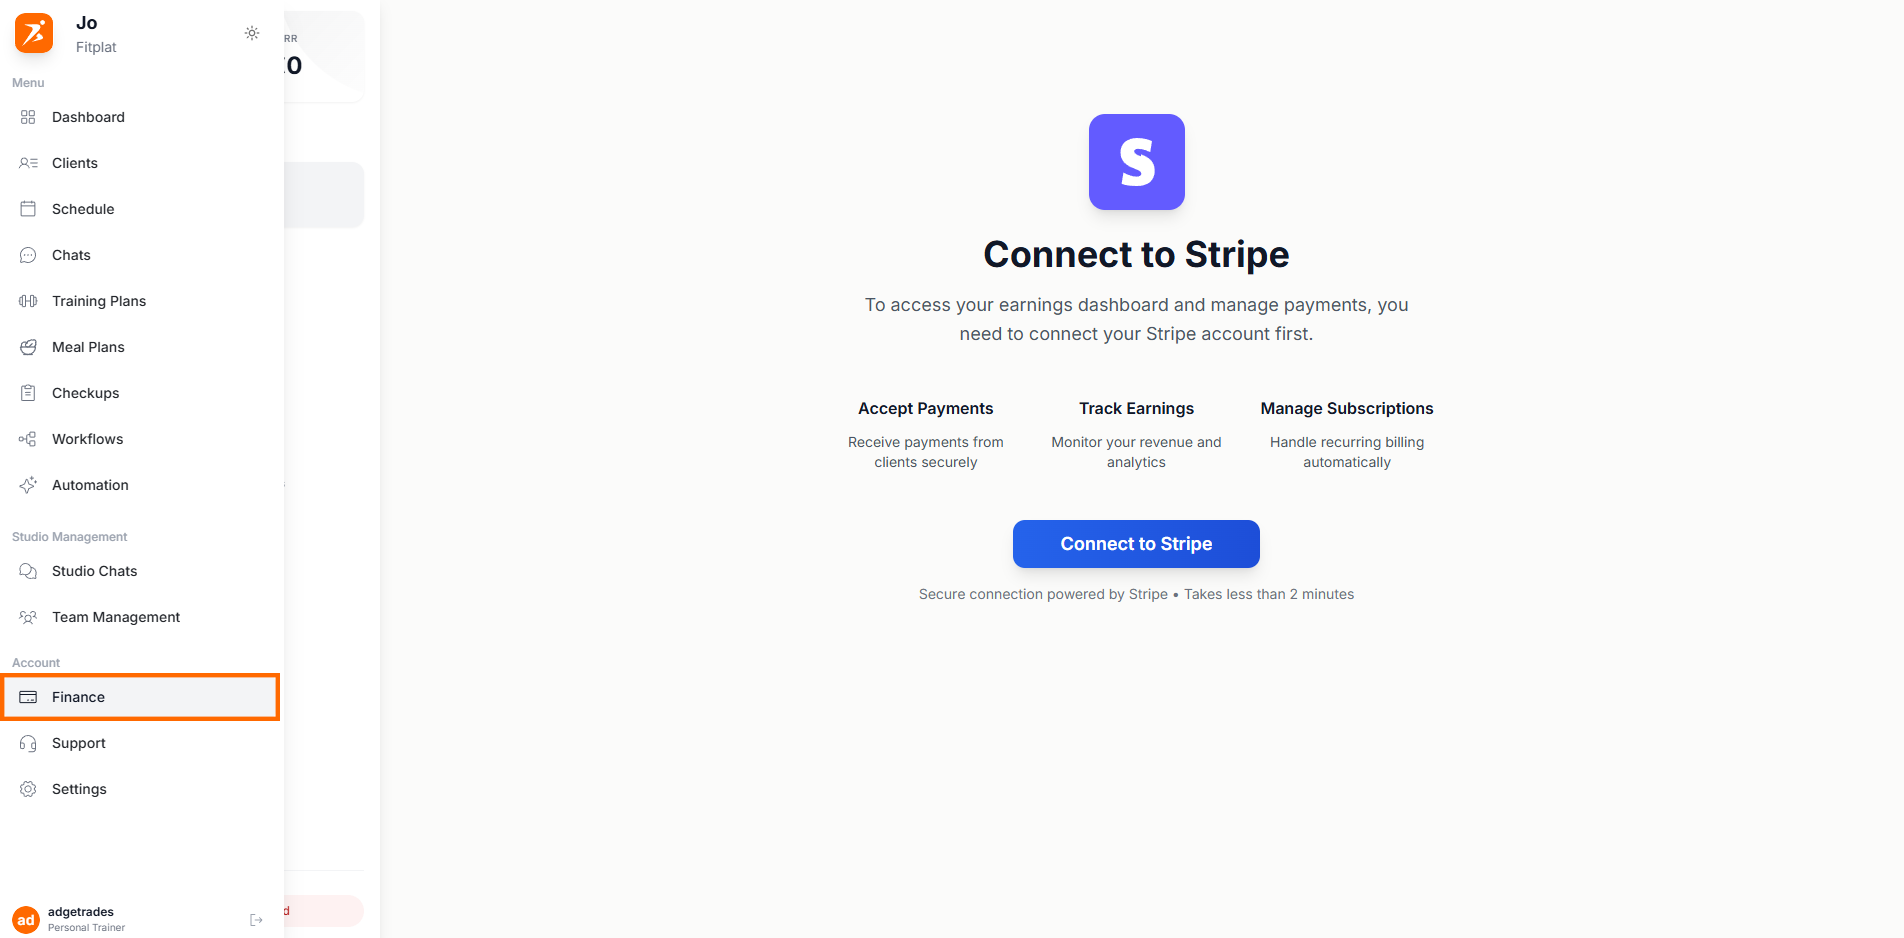
Screenshot: Finance page with Settings tab
Show: trainer dashboard with "Finance" icon highlighted in left sidebar, earnings sidebar on the left showing sections (Analytics, Transactions, Payment Requests, Subscriptions, Products, Pricing Page, Settings — Settings is selected/active), main content area showing "Settings" heading
public/docs/stripe-finance-settings.png
At the top of the page you'll see a "Stripe Connect" card. It shows your connection status. If you haven't connected yet, click the "Connect Account" button. A new window will pop up from Stripe where you'll set up your account.
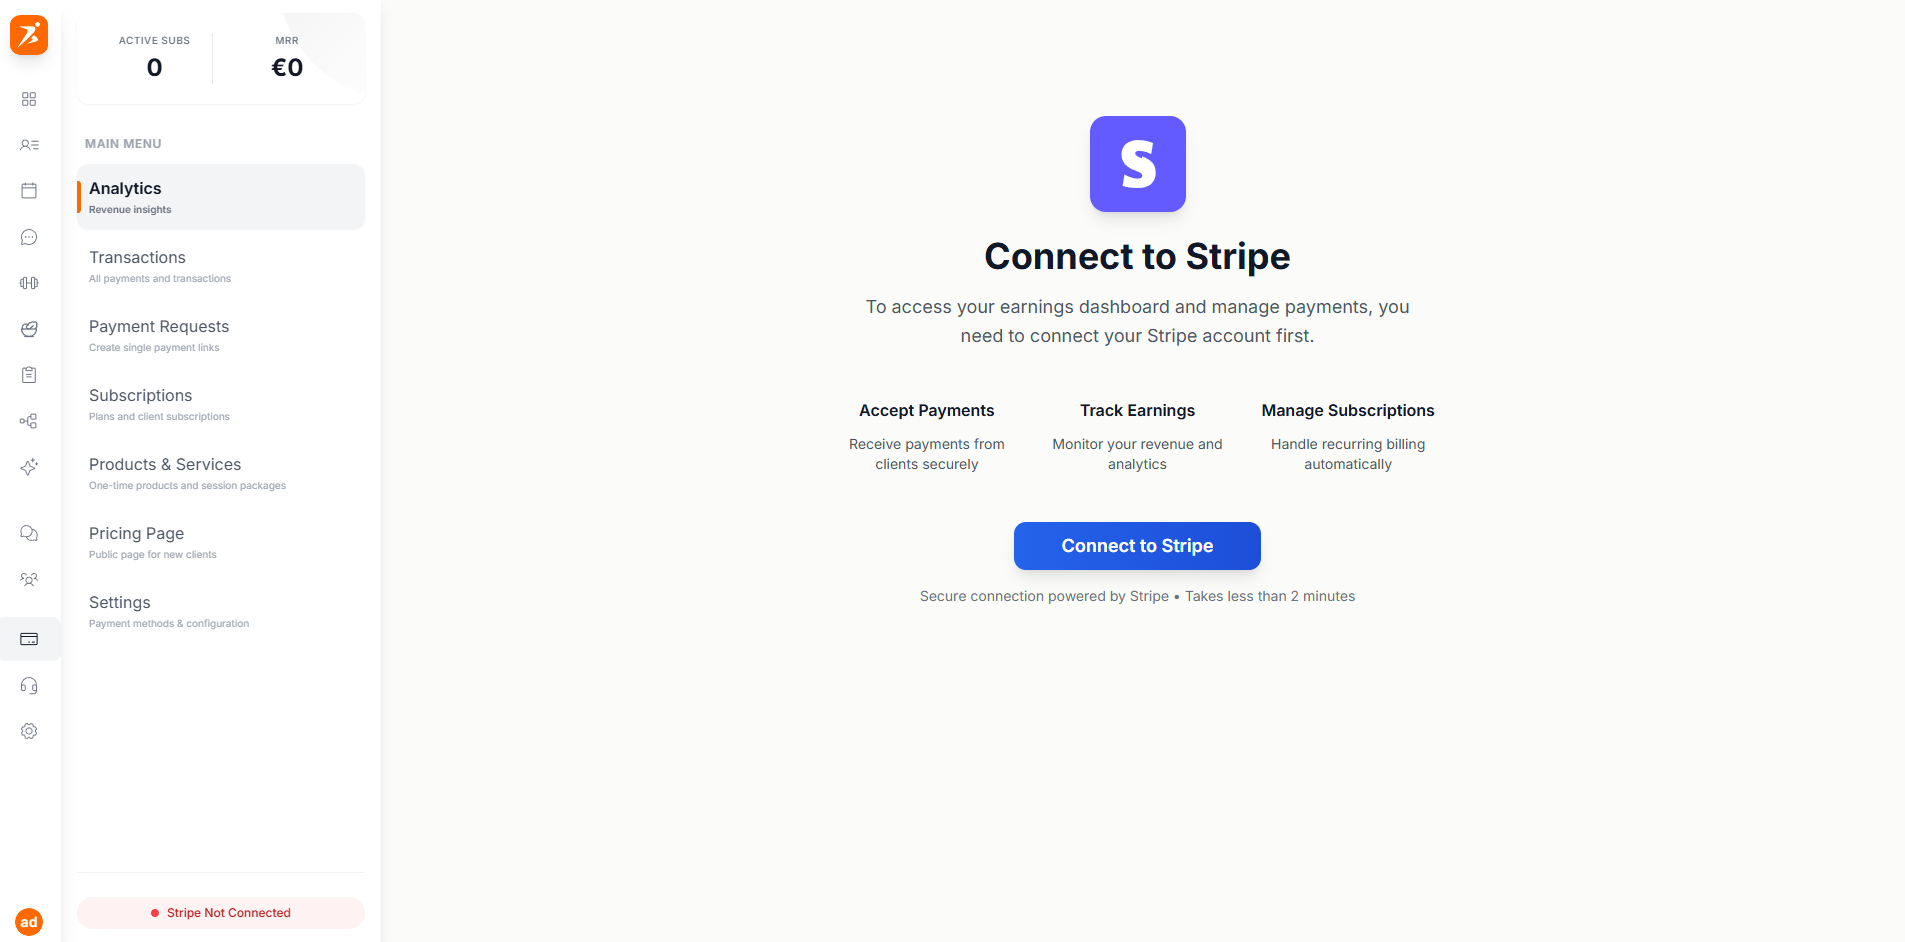
Screenshot: Stripe Connect — Not Connected
Show: Stripe Connect card at top of Finance Settings page, title "Stripe Connect", description "Connect your Stripe account to process payments", "Connect Account" button with credit card icon, and "Learn More" outline button next to it
public/docs/stripe-not-connected.png
Stripe will ask you a few things, one screen at a time. Don't worry — it's simple and takes about 5 minutes.
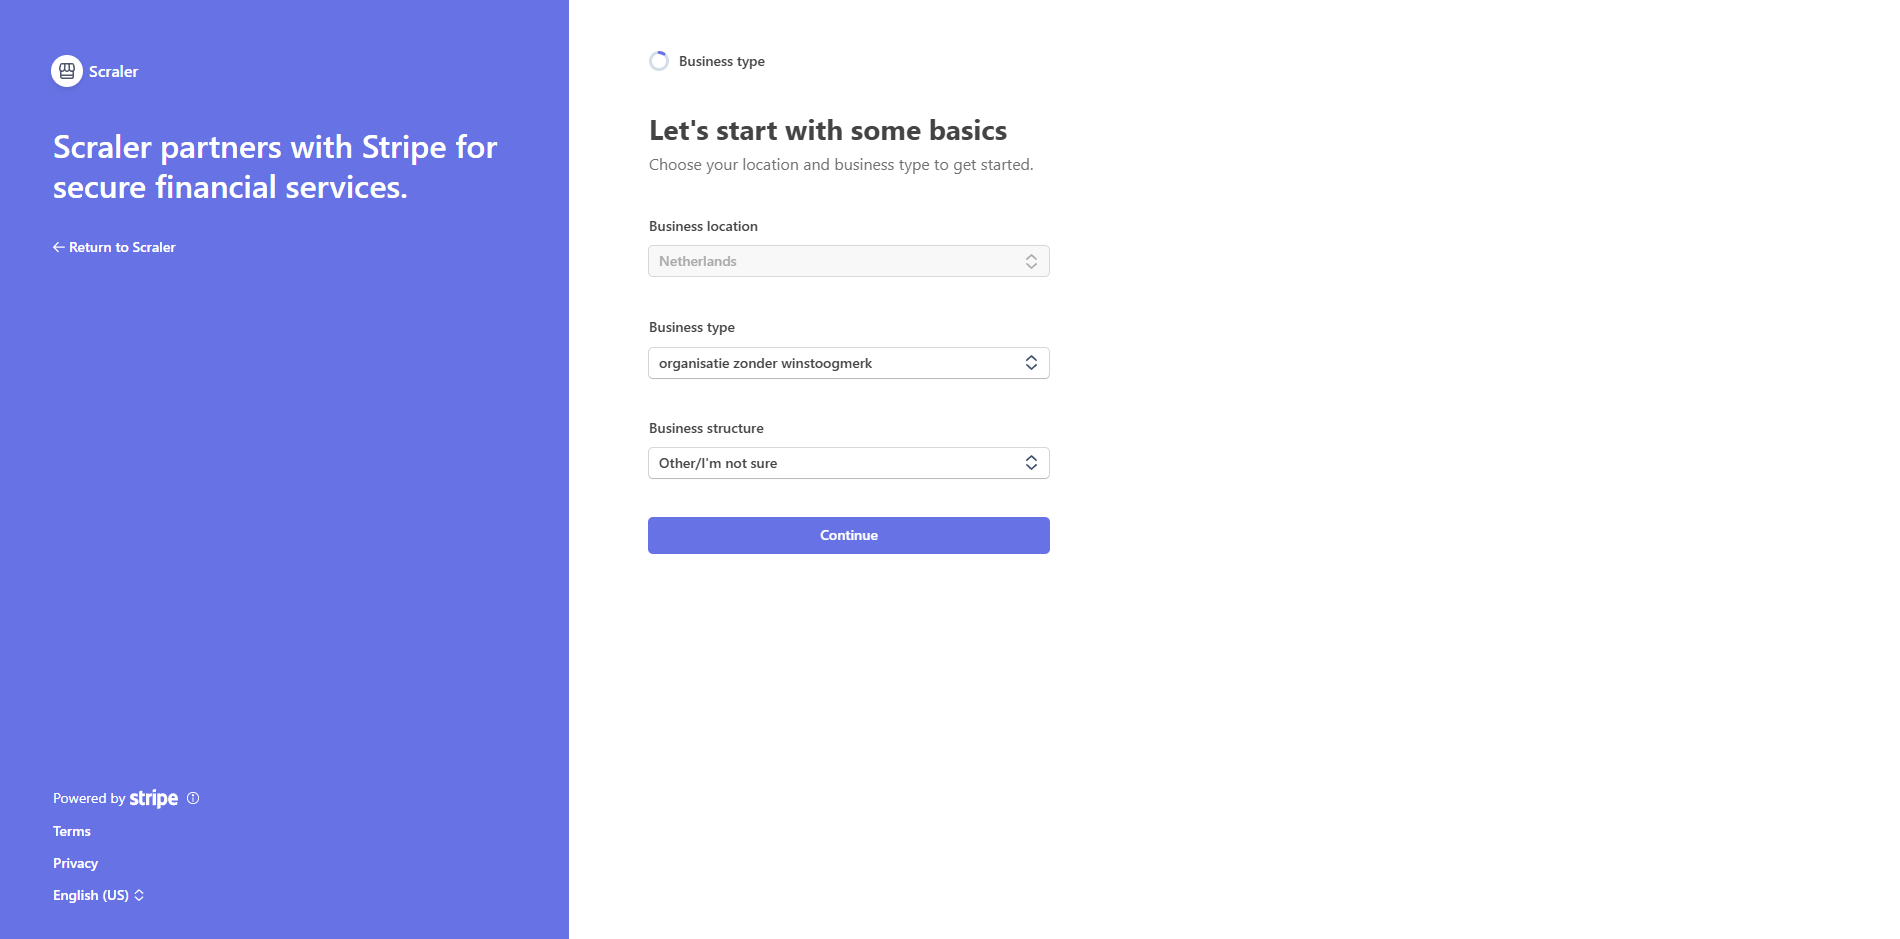
Screenshot: Stripe onboarding form
Show: Stripe-branded onboarding page with clean white background, progress bar at top (25% complete), form asking "Tell us about your business" with radio options "Individual" (selected) and "Company", country dropdown showing "Netherlands", "Continue" button at bottom
public/docs/stripe-onboarding-form.png
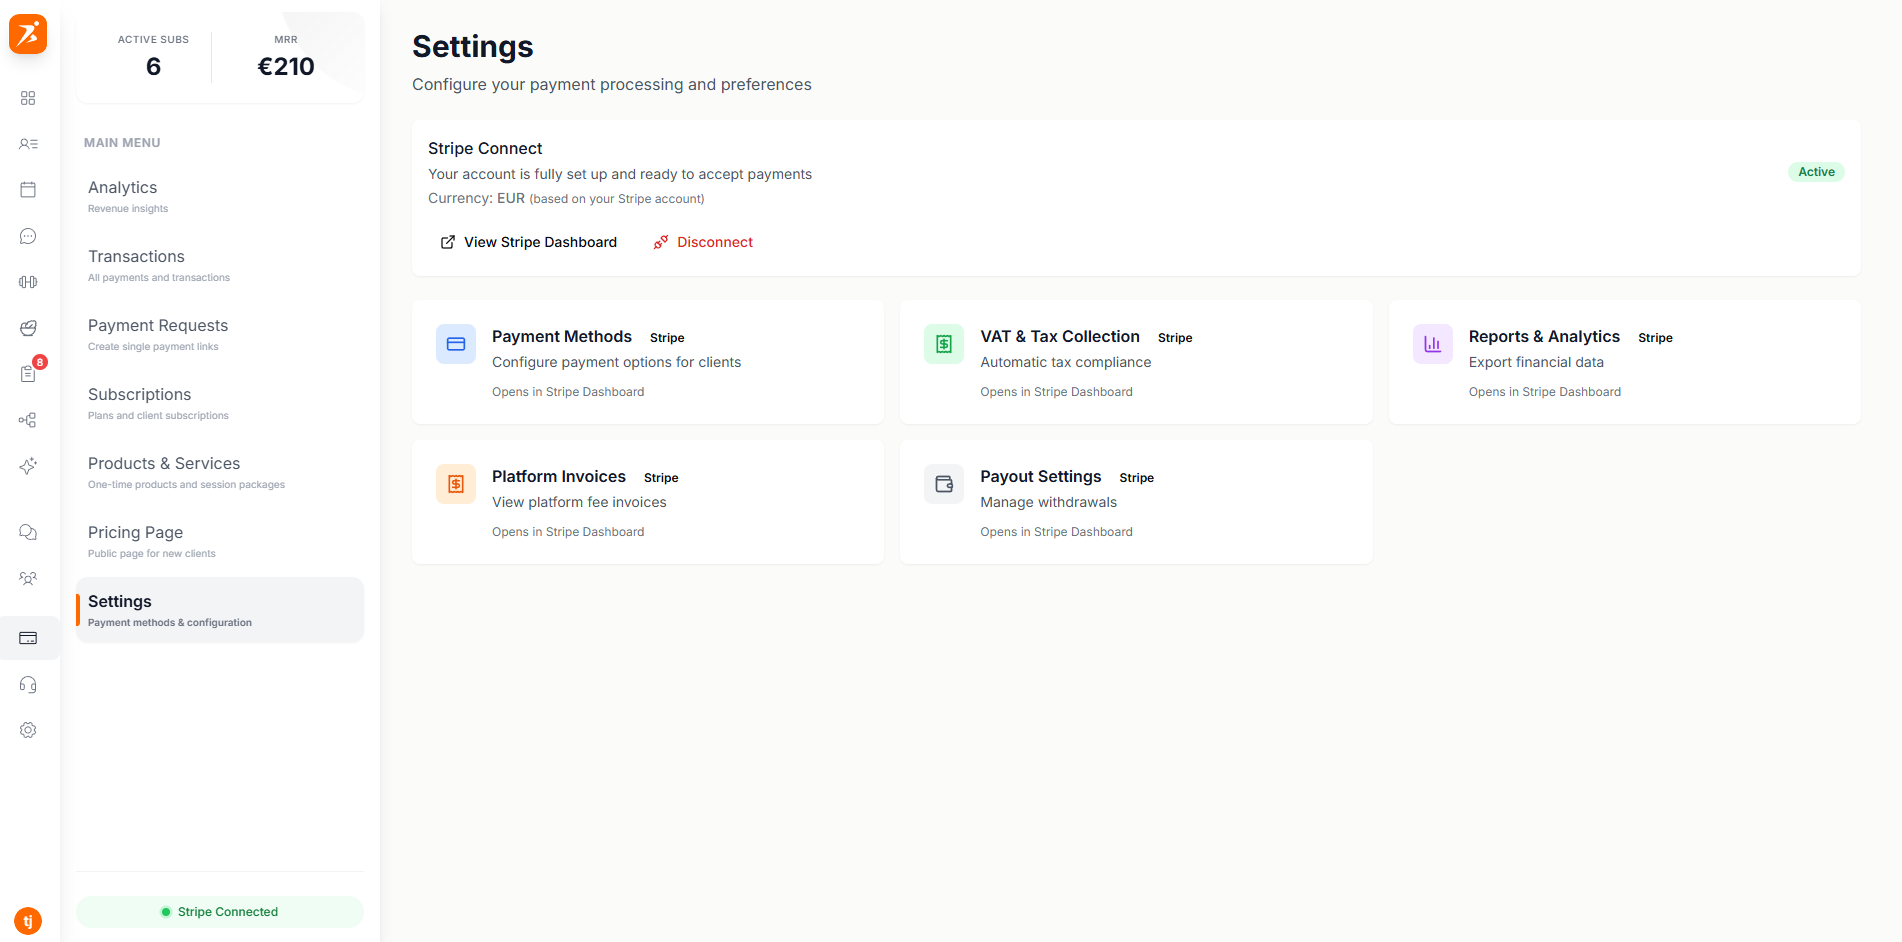
Once Stripe approves your account, the Stripe Connect card on your Finance page changes to show a green "Active" badge. That's it — you're ready to accept payments from your clients!
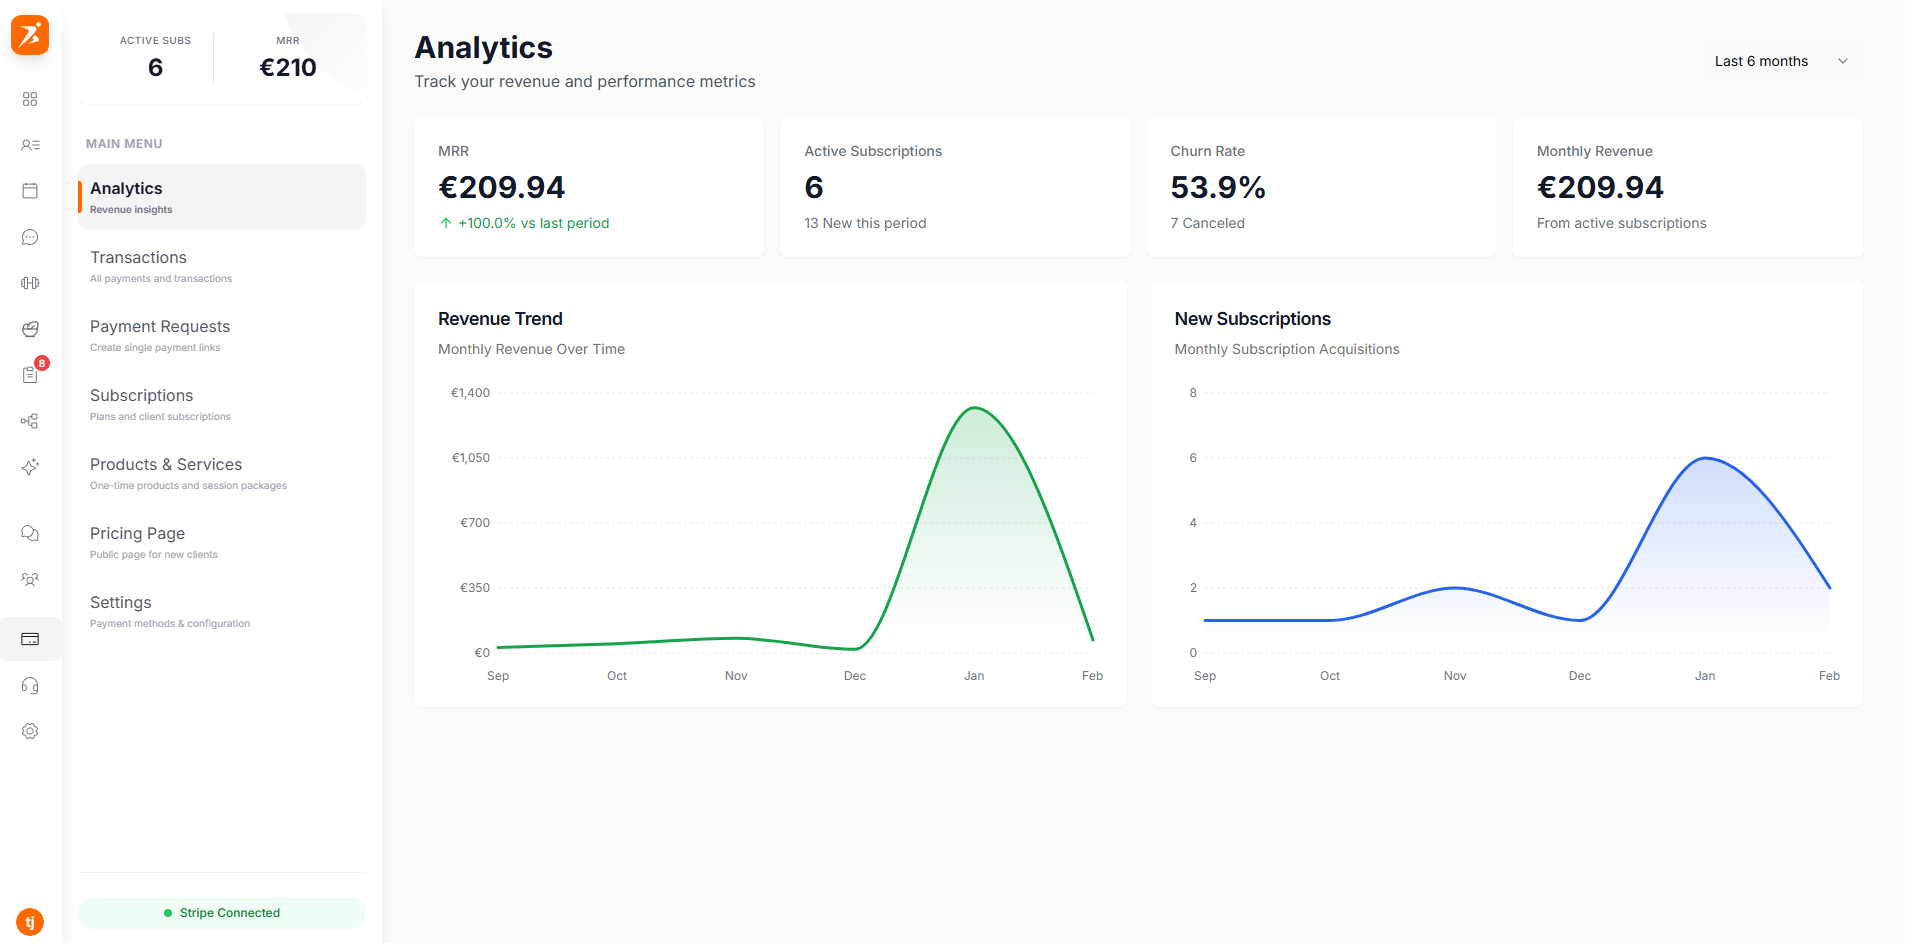
Screenshot: Stripe Connected state
Show: Stripe Connect card with green "Active" badge, green checkmark icon, text "Your account is verified and active", currency info (EUR), "View Dashboard" button and red "Disconnect" button below
public/docs/stripe-connected-success.png
Now that Stripe is connected, here's what happens when a client pays you:
You don't have to do anything — it all happens automatically!
Your clients can pay using several different methods. These are all handled by Stripe and work automatically:
Visa, Mastercard, American Express — the most common way to pay.
Popular in the Netherlands. Clients pay directly from their Dutch bank account.
Works across Europe. The payment is pulled directly from the client's bank account.
A fast checkout option. Clients save their payment info once and pay with one click next time.
Screenshot: Available payment methods
Show: payment methods section in settings with toggle switches — Cards (Visa/MC/Amex logos, enabled), iDEAL (enabled), SEPA Direct Debit (enabled), Stripe Link (enabled), each with a small icon and on/off toggle
public/docs/stripe-payment-methods.png
After a client pays, Stripe holds the money for a short time (this is normal and required by banking rules). Then it gets sent to your bank account.
Most countries: money arrives in 2-7 business days after the payment. Stripe sends payouts automatically — you don't need to press any buttons.
Go to your Finance page in Scraler, or log in to your Stripe Dashboard at dashboard.stripe.com to see all your incoming and past payouts.
You also get your own Stripe Dashboard — a separate website where you can see everything about your payments. Think of it as your financial control center.
You can open your Stripe Dashboard anytime by clicking "View Dashboard" on the Stripe Connect card in your Finance > Settings page.
No problem! Just go back to Finance > Settings and click "Connect Account" again. Stripe saves your progress, so you can pick up where you left off.
Make sure your photo is clear and not blurry. Use a well-lit area and make sure all four corners of your ID are visible. Then try again.
Usually less than a minute. In rare cases it can take up to 24 hours. Just check back later — the status will update automatically.
Yes, Stripe takes a small fee per transaction (usually around 1.5% + €0.25 for European cards). This is industry standard and is deducted automatically from each payment before it reaches your bank.
Stripe works in 40+ countries including all of Europe, the US, Canada, Australia, and more. If you can sign up for Scraler, Stripe will work for you.
Ready to start getting paid?
Connect Stripe in just 5 minutes — no setup fees, no hidden costs.
Get Started Free